How to Install NetworkMiner in Linux
This guide shows how to install the latest version of NetworkMiner in Linux. To install an older NetworkMiner release, prior to version 3.0, please see our legacy NetworkMiner in Linux guide.

STEP 1: Install Mono and GTK2
Mono is an open source cross-platform implementation of the .NET framework, it is needed to run NetworkMiner non-Windows machines. GTK2 is not required, but it provides a more consistent look to the user interface.
Ubuntu / Debian / Kali Linux / Raspberry Pi OS:
Fedora:
AlmaLinux / RHEL:
Arch Linux:
STEP 2: Install NetworkMiner
STEP 3: Run NetworkMiner
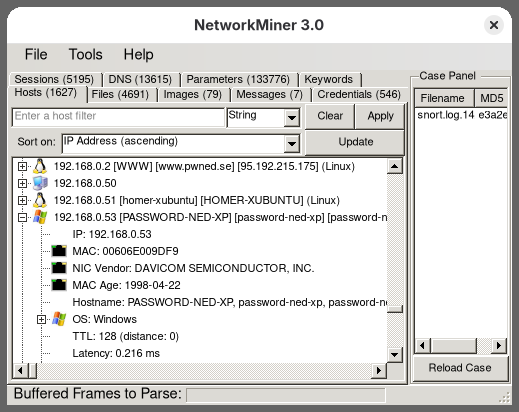
Image: NetworkMiner running in Linux
Follow these steps to analyze live network traffic:
- Click File, Receive PCAP over IP [Ctrl+R]
- Click Start Receiving and note the listen TCP port (default is 57012)
Then run this command to sniff network traffic and send a real-time stream of captured packets to NetworkMiner:
Change 57012 in the command above if NetworkMiner is listening on a different TCP port.
This PCAP-over-IP technique can also be used to read a real-time packet stream from a remote device. It is also possible to sniff packets from Mikrotik routers by clicking File, Receive TZSP Stream.
STEP 4 (optional): Create Shortcut Command
NetworkMiner can now be started like this:
Linux Distros with NetworkMiner
NetworkMiner comes pre-packaged on some Linux distributions, such as REMnux, Security Onion Desktop, CSI Linux and BlackArch.
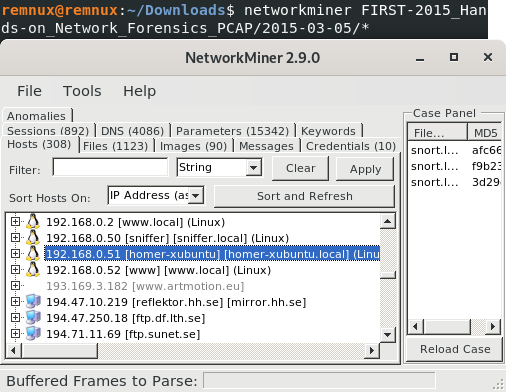
Image: NetworkMiner running in REMnux
Static Download Link
The https://www.netresec.com/?download=NetworkMiner download link always delivers the latest release of NetworkMiner.
If you prefer a static link, that points to a specific version of NetworkMiner, then please use this one:
https://download.netresec.com/networkminer/NetworkMiner_3-1.zip
Posted by Erik Hjelmvik on Thursday, 10 April 2025 07:30:00 (UTC/GMT)
Tags: #NetworkMiner #Linux #Ubuntu #Kali